So you got yourself a brand-new 3D printer, but you're getting a little tired of printing out just the objects that you've downloaded. If that's you, then we've got an episode for you! Jason Howell and Megan Morrone join Padre for a special 3D episode of "Know How"! -- We're going to be teaching the basics of "Tinkercad", a free, browser-based CAD tool that can be used to create everything from the simplest box to a universe-in-a-bottle. (Stargate Reference) - Join us!
The Environment* We call the grid the "Build plane"* The scroll button on your mouse will zoom in and out on your focused object* Typing an "F" will change the focus to whatever object you have selected* Holding the right button and moving the mouse will rotate around your focused object
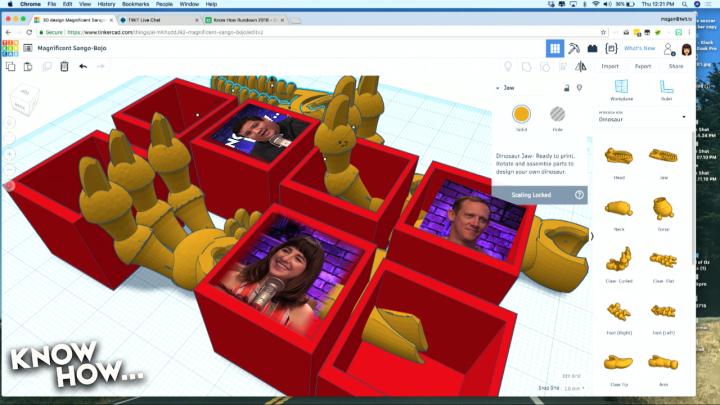
Instruction 1: Placing and Resizing ShapesTinkercad starts with placing shapes on a bed so the can be manipulated
* Let's practice placing shapes on the build-bed- Pick 4 shapes from the basic shapes menu and place them on the bed- Use the hash marks to keep each object 40mm away from other objects
** Tip: Once placed, you can use the arrow keys to move the shapes 1 unit at a time. (The unit size is determined by the drop-down menu in the lower right corner)** Tip: Hold "Shift" while hitting an arrow key will move the shape 10 units
* And now let's resize- Clicking each object, resize them so that they are twice their current size. (W x L x H)- The bullets that appear when an object is clicked can be dragged to the size you want
** Tip: You can also click each bullet and then click the value to enter a new value on the keyboard.
Instruction 2: Elevation and RotationWe need to practice some of the finer points of manipulating 3D objects... specifically their rotation and elevation on the bed.
* Elevation- Click the object you want to raise or drop- Click and hold the "black arrow" at the top of the shape (It will turn red when selected)- Drag the object to the height that you require- Notice that as you change the elevation of the object, the callout to the side will tell you how high the bottom of the object is above the build plane.
** Tip: Holding "CTRL" while hitting the up and down arrows will move the object up and down by one unit each time you hit an arrow key** Tip: Holding "CTRL" + "SHIFT" while hitting the up and down arrows will move the object up and down by 10 units each time you hit an arrow key
* Rotation- Click the object you want to rotate, you'll see three curved arrows for the three axes on which you can rotate the objects- Click, hold and DRAG to rotate
** Tip: Staying WITHIN the rotation circle will snap rotation to 22.5 degrees. Going OUTSIDE the rotation circle lets you rotate by degree (or less)** Tip: You can also click the curved arrow and enter a custom rotation value
Instruction 3: Smoothing the CurveAny shape with a curve is actually just a bunch of straight lines APPROXIMATING a curve. The "smoothness" of that curve depends on how many lines make up the curve: The more lines, the smoother the curve.
* Add a cylinder to your build plate- select the object- In the drop-down menu, play with the first two settings (Sides, Bevel -- ignore Segments)- Increasing or decreasing the number of sides will increase or decrease the-
* Add a-
These show notes have been truncated due to length. For the full show notes, visit https://twit.tv/shows/know-how/episodes/376
Hosts: Fr. Robert Ballecer, SJ, Megan Morrone, and Jason Howell
Sponsors: